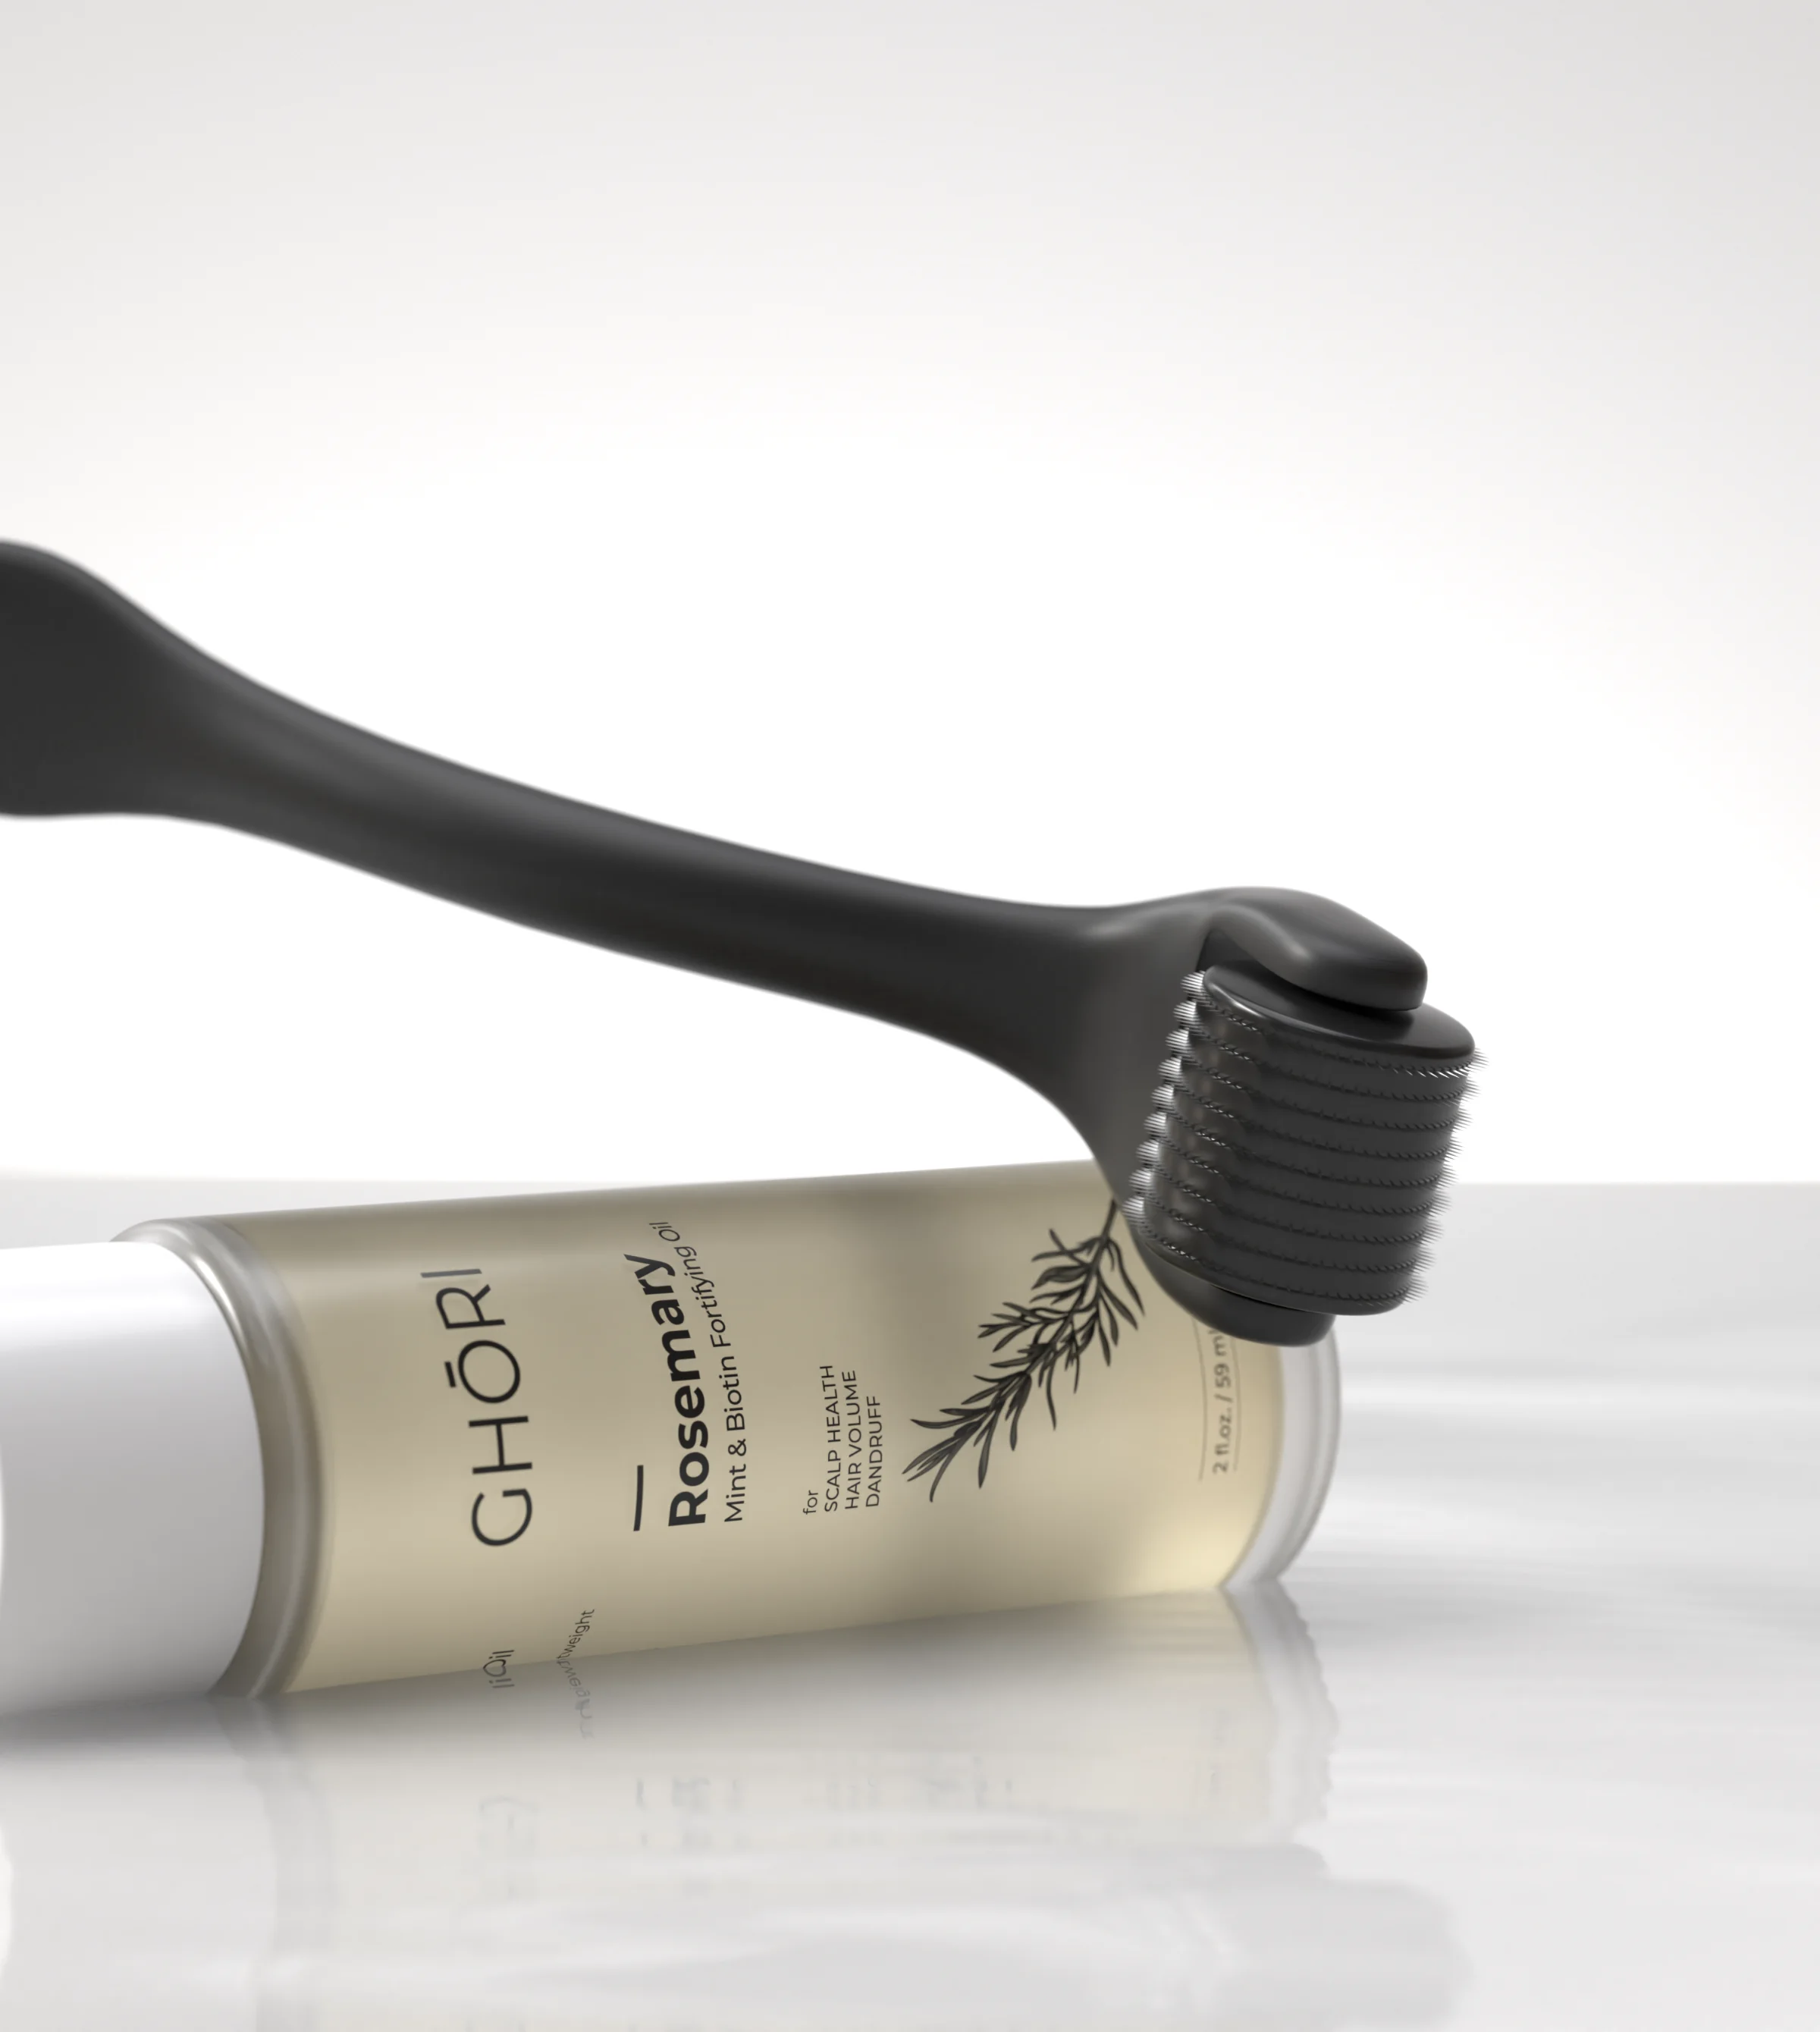
HowtoUseaDermaRollerforHair:TheCompleteGuide
Microneedling the scalp, done properly: technique, frequency, hygiene, what to apply afterwards, and the mistakes that undo the benefits.
- Author
- The Ghori Editorial
- Filed under
- Ritual
- Length
- ≈ 400 words
- Sections
- 4 chapters
Direct answer
The premise, stated plainly before we open the archive.
“Microneedling began in dermatology clinics as a skin-rejuvenation treatment. Then researchers noticed something: patients microneedled on the scalp grew hair better — especially when the rolling was combined with topical treatments. The tool that brings this home is the derma roller, and used correctly, it is the highest-leverage five minutes in a hair routine. Used carelessly, it's a way to irritate your scalp. The difference is technique.”
Why rolling works
A derma roller's fine needles create thousands of microscopic, painless channels in the skin. This does two things. First, the controlled micro-stimulation triggers the skin's natural renewal response around the follicle. Second — and this is the multiplier — those temporary channels dramatically increase how much of a topical treatment actually reaches the follicle instead of sitting on the surface. Studies combining scalp microneedling with topical treatments consistently show better results than the topical alone. The roller doesn't replace your serum or oil; it amplifies it.
The technique, step by step
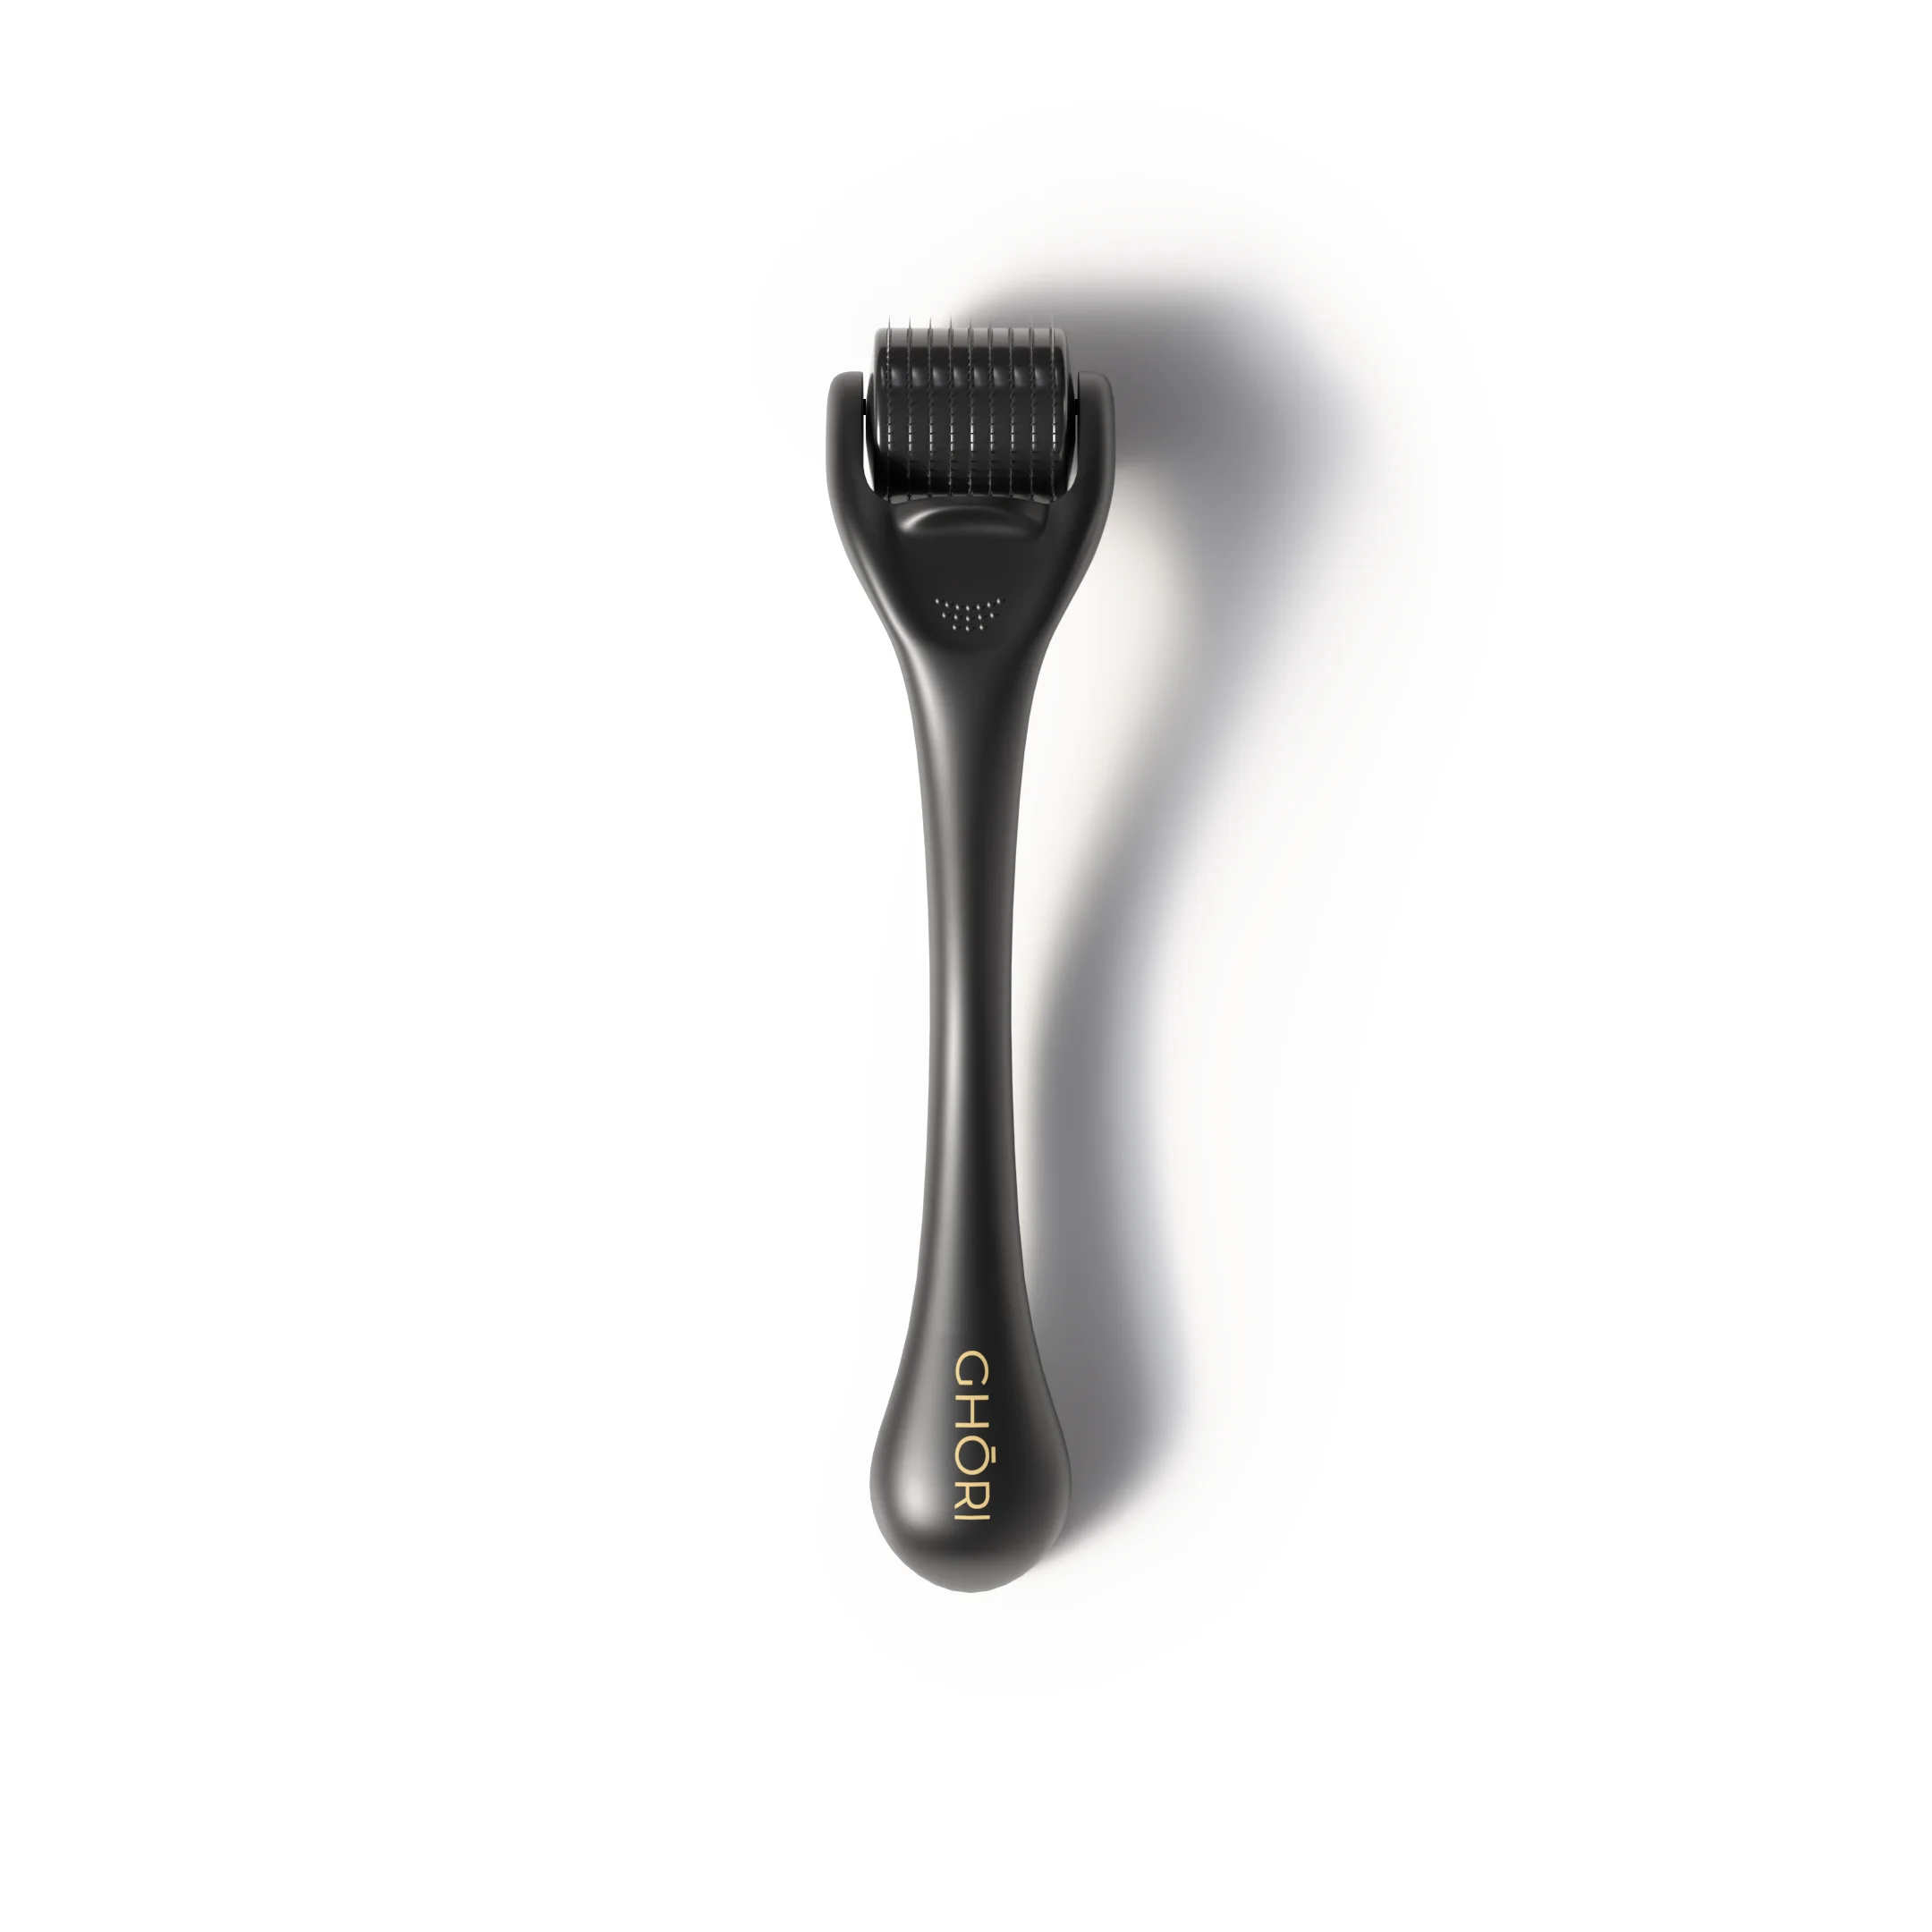
Start with a clean, dry scalp and a sanitised roller — spray the head with an alcohol-based sanitiser and let it air-dry before you begin.
Section your hair to expose the areas you're targeting, typically the crown, temples, or anywhere thinning. Roll with light pressure — the roller's weight plus a whisper more. It should feel like a prickle, never pain. Pain means too much pressure.
Work each area in a star pattern: four to five passes vertically, four to five horizontally, four to five diagonally. Lift the roller at the end of each pass rather than dragging it back — dragging tears rather than punctures. A full scalp session takes under five minutes.
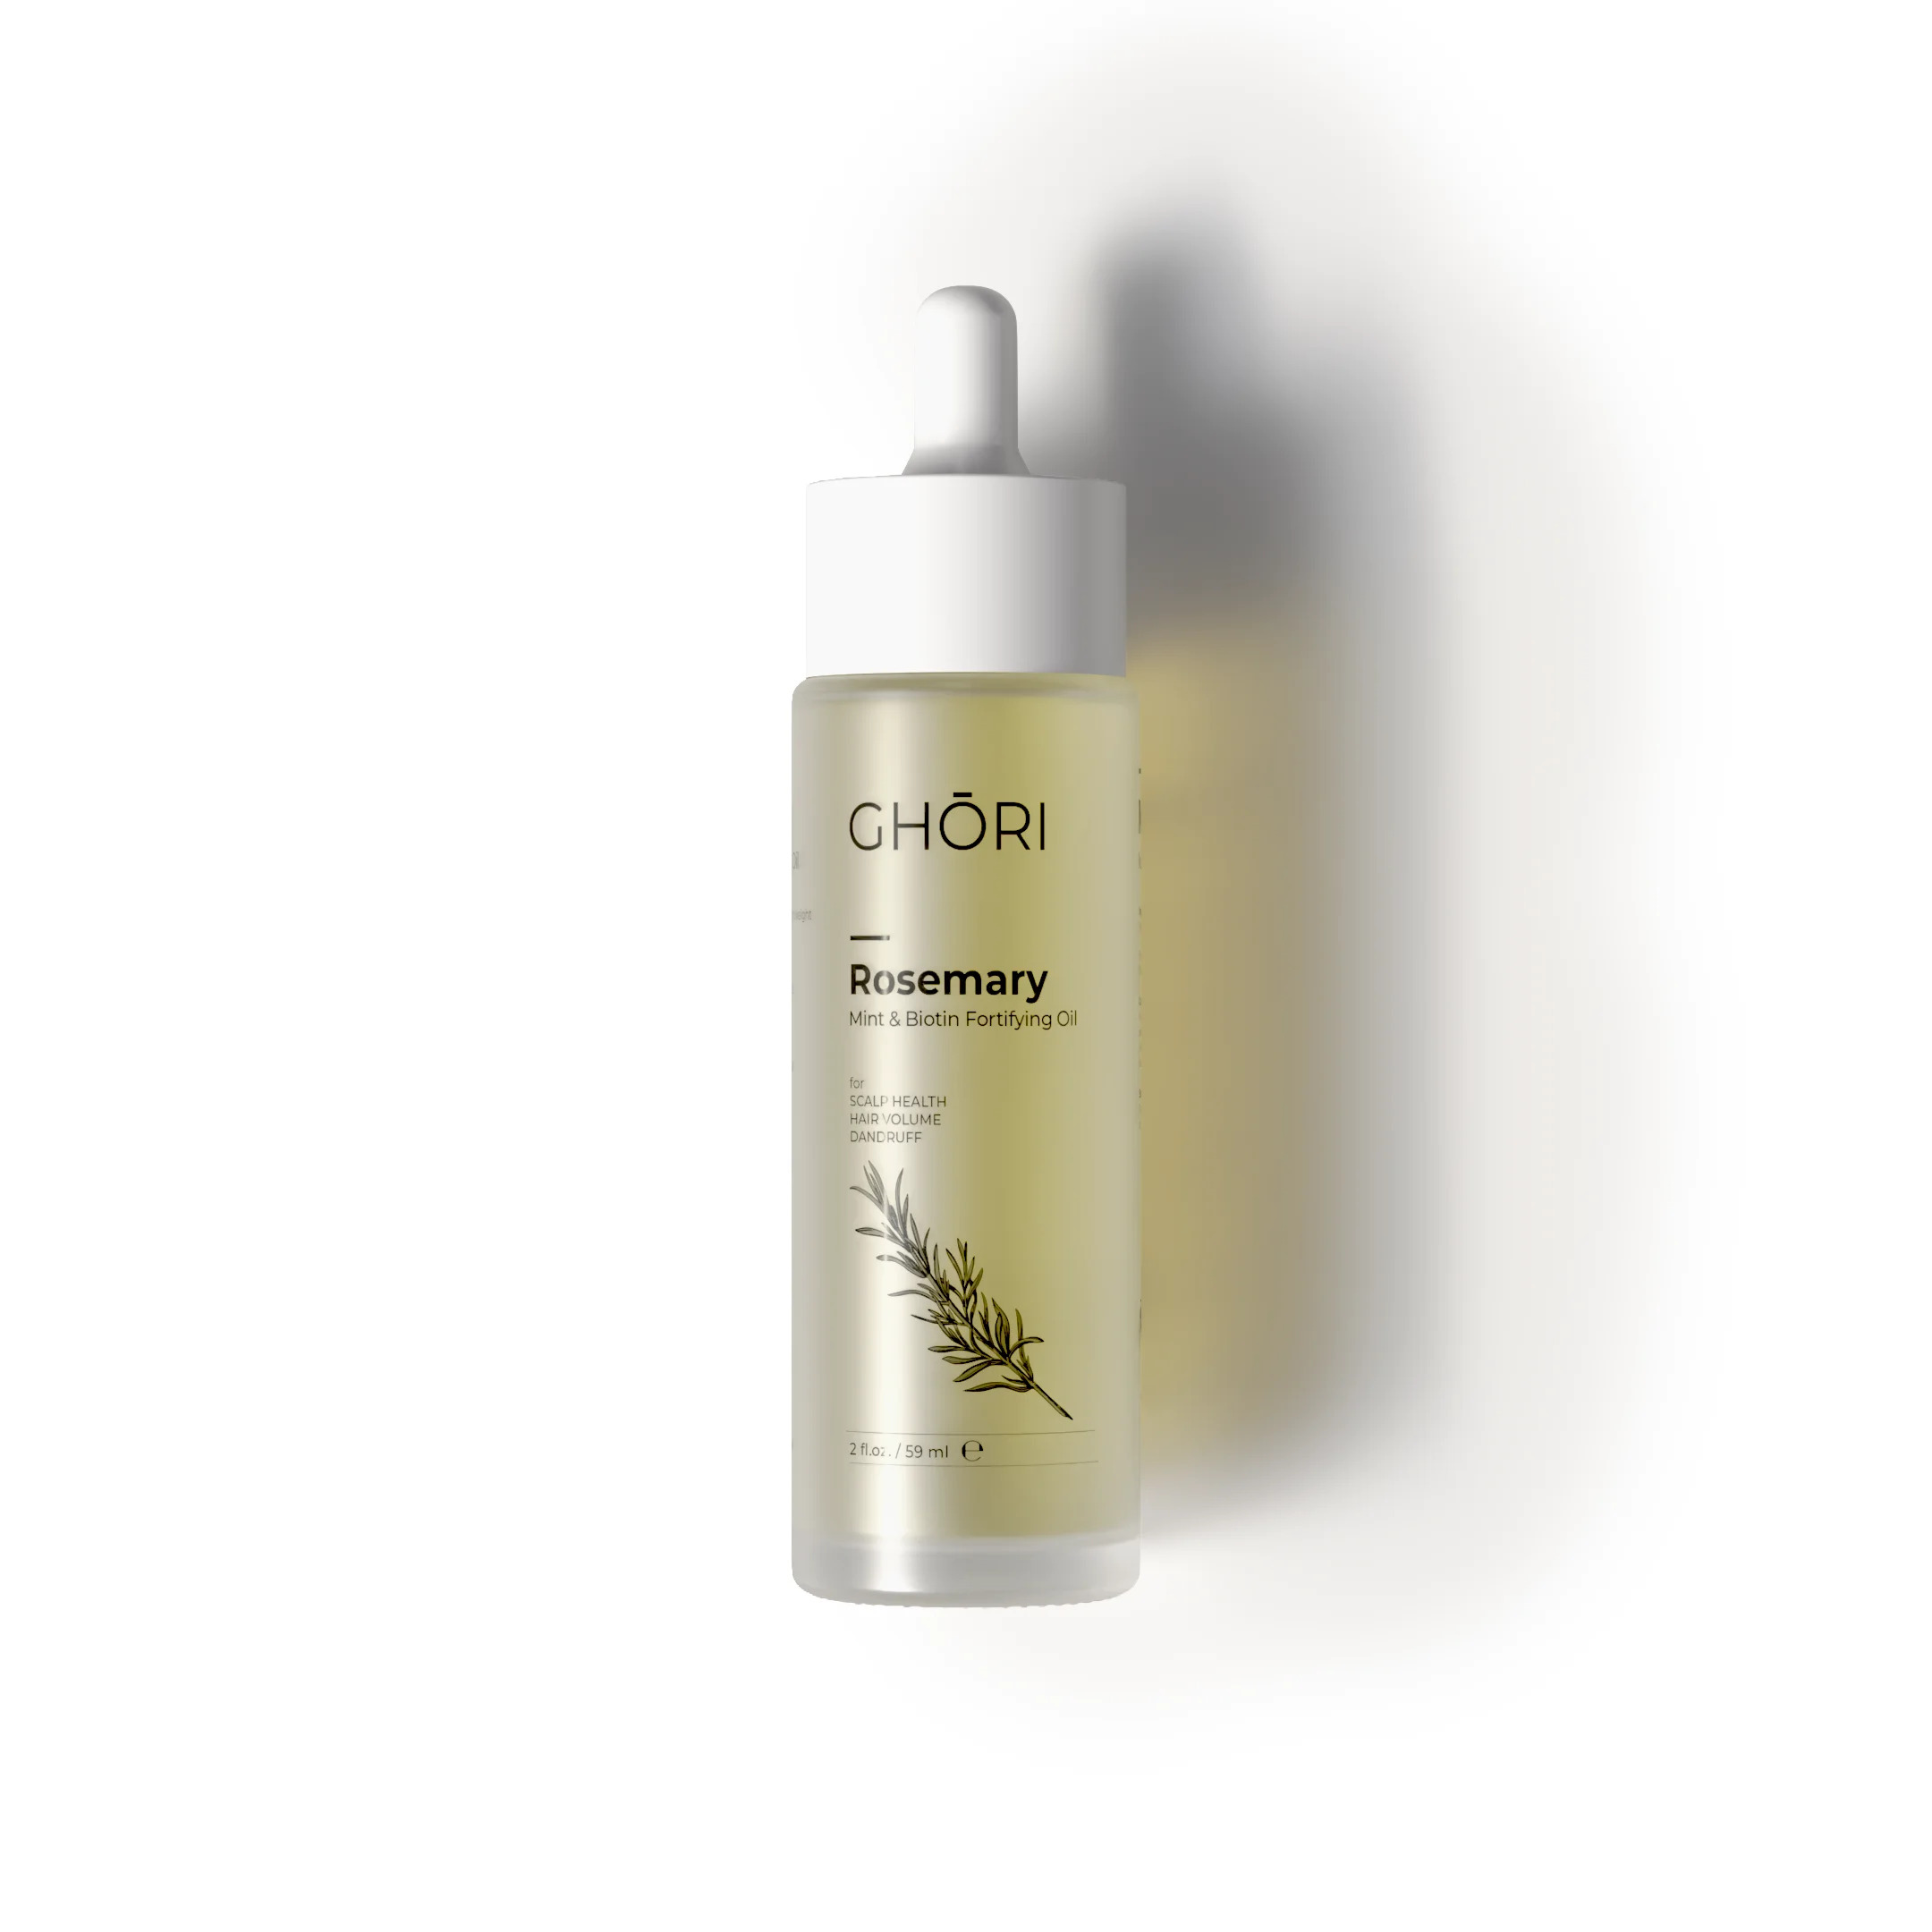
Immediately afterwards, apply your treatment: a growth-focused oil such as Rosemary, Mint & Biotin, or a repair serum, massaged gently in. This post-roll window is when absorption is at its peak — skipping it wastes the roller's main benefit.
Frequency and hygiene
For home rollers, one to three sessions per week is the sensible range; the skin needs recovery days between sessions, and more is not better. Clean the roller with sanitiser before and after every single use, let it air-dry, and store it in its case. Never share a roller. Replace it every two to three months of regular use — dull needles drag instead of gliding.
The mistakes that undo everything
Rolling over an irritated, broken, or infected scalp (wait until it heals). Pressing hard in the belief that pain equals progress. Rolling daily. Using styling products immediately after rolling — for the rest of the day, keep the scalp to treatment products only. And giving up at week four: rolled or not, new growth takes six to eight weeks to become visible above the skin. Photograph your problem areas under the same light every two weeks; the camera notices before the mirror does.
Five minutes, twice a week, followed by the right oil. Few habits in hair care return more for less.
Editor's note
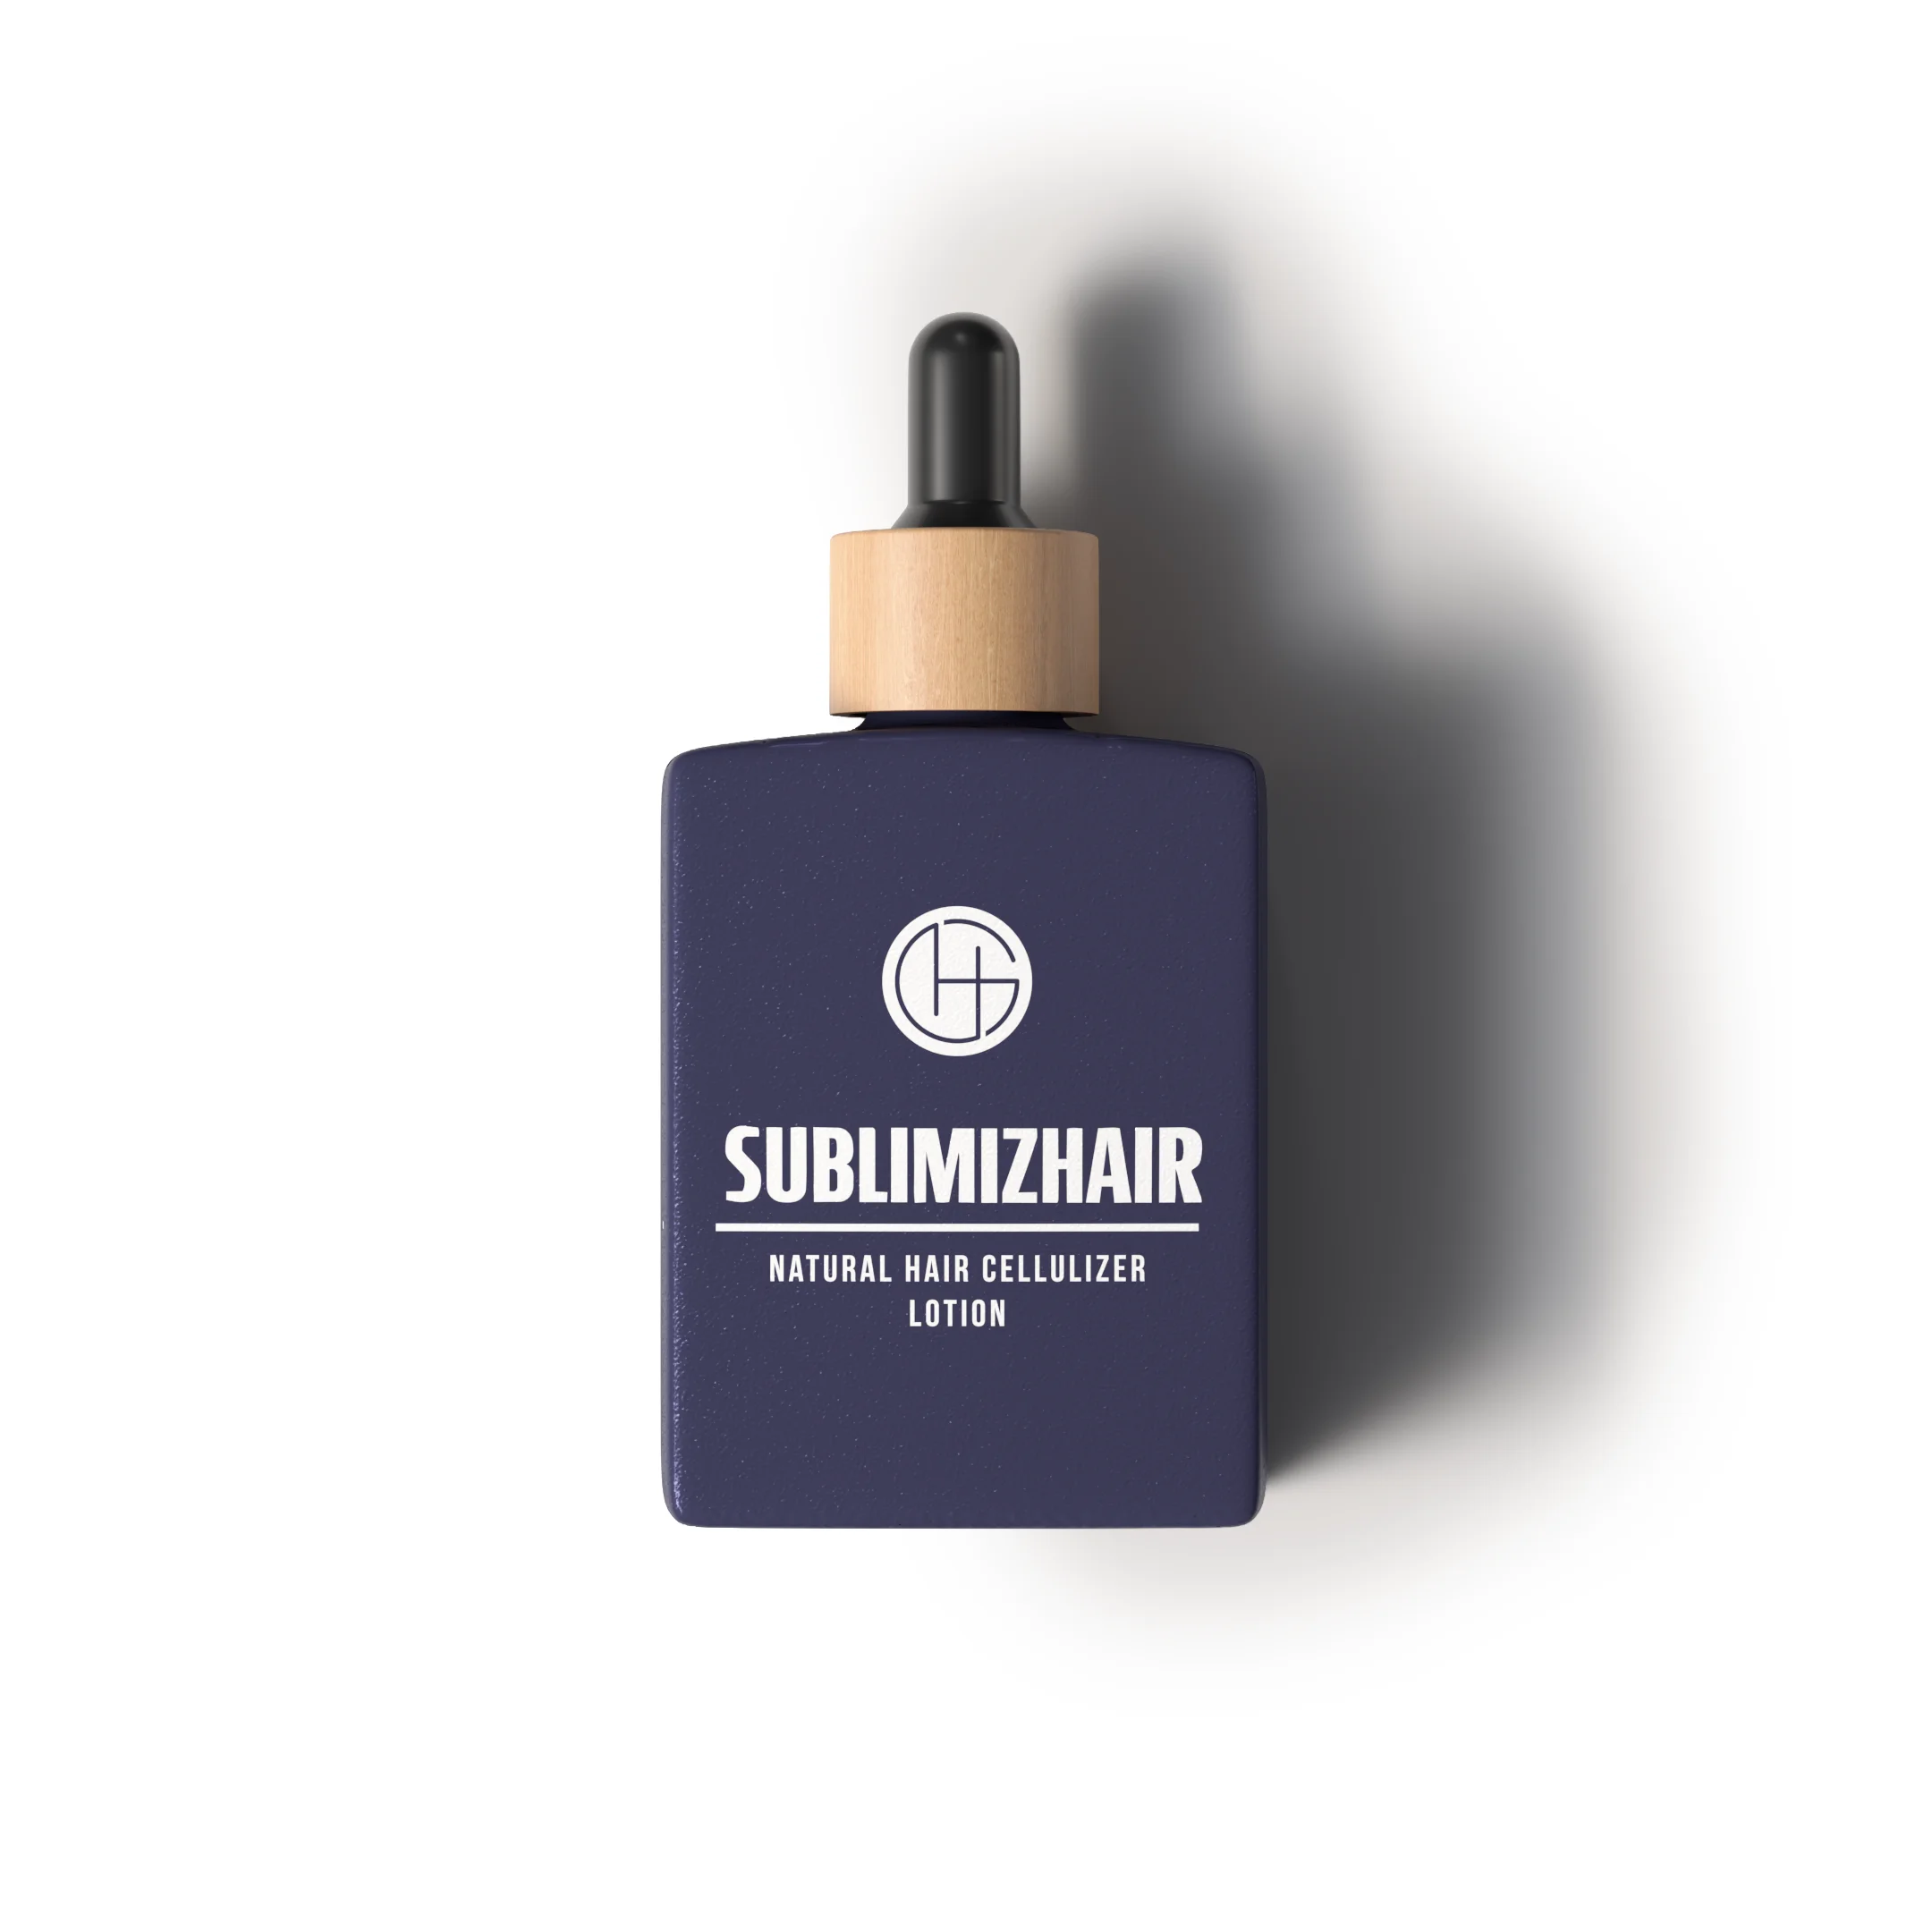
Continue the ritual: Derma Roller · Rosemary, Mint & Biotin Fortifying Oil · Sublimizhair Hair Serum
— The Ghori Editorial
Formulas from this dispatch
Take it to the shelf
Circulate the dispatch
If a friend has asked the same question, hand them the answer.
Continue reading